
Myth Bust: You Need Opaque Pigment for a Smooth Ombre
Imagine a client who wants a natural, wearable ombré that reads like “your nails, but better.” The myth says you must start with heavy, opaque color to get a smooth gradient. That’s not true for a layered nude pink ombre technique—the right translucent rubber base and thin layering actually create the clean, creamy gradient you see in photos.
Set The Scene: Client Request and Look
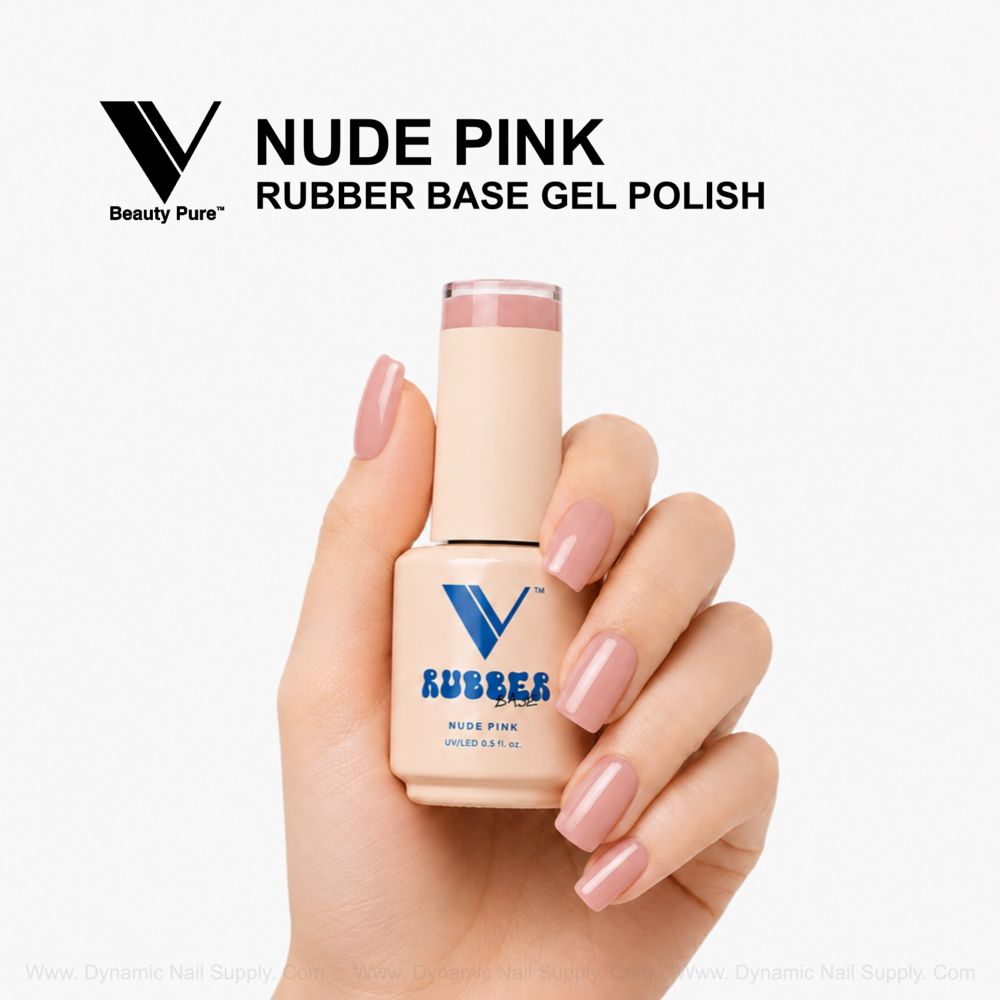
Your client asks for a soft, neutral ombré that moves from warm beige at the cuticle to blush nude at the free edge, finished with a high-gloss sheen. Short-to-medium nails, slightly rounded square—every stroke counts. The visual goal: a smooth, glossy creamy finish with warm beige undertones and blush-pink highlights that read elegant, office-appropriate, and bridal-ready.
Prep: Start Clean
Prep is non-negotiable. File to the requested shape, push back cuticles gently, and remove surface shine with a very light buff. Degrease with a lint-free wipe and primer if the natural nail needs it. For short nails this step determines how seamless your layers will blend—any leftover oil or shine throws off leveling and causes edge lift.
Base Layer: Build a Warm Beige Foundation
Begin with a thin, even coat of the warm beige base tone. Use a flat, medium brush to lay down one translucent layer that just blurs the nail plate; don’t try to cover imperfections. Cure 60 seconds under LED. The goal here is translucency that reads beige, not full coverage.
Layering: Thin, Controlled Builds
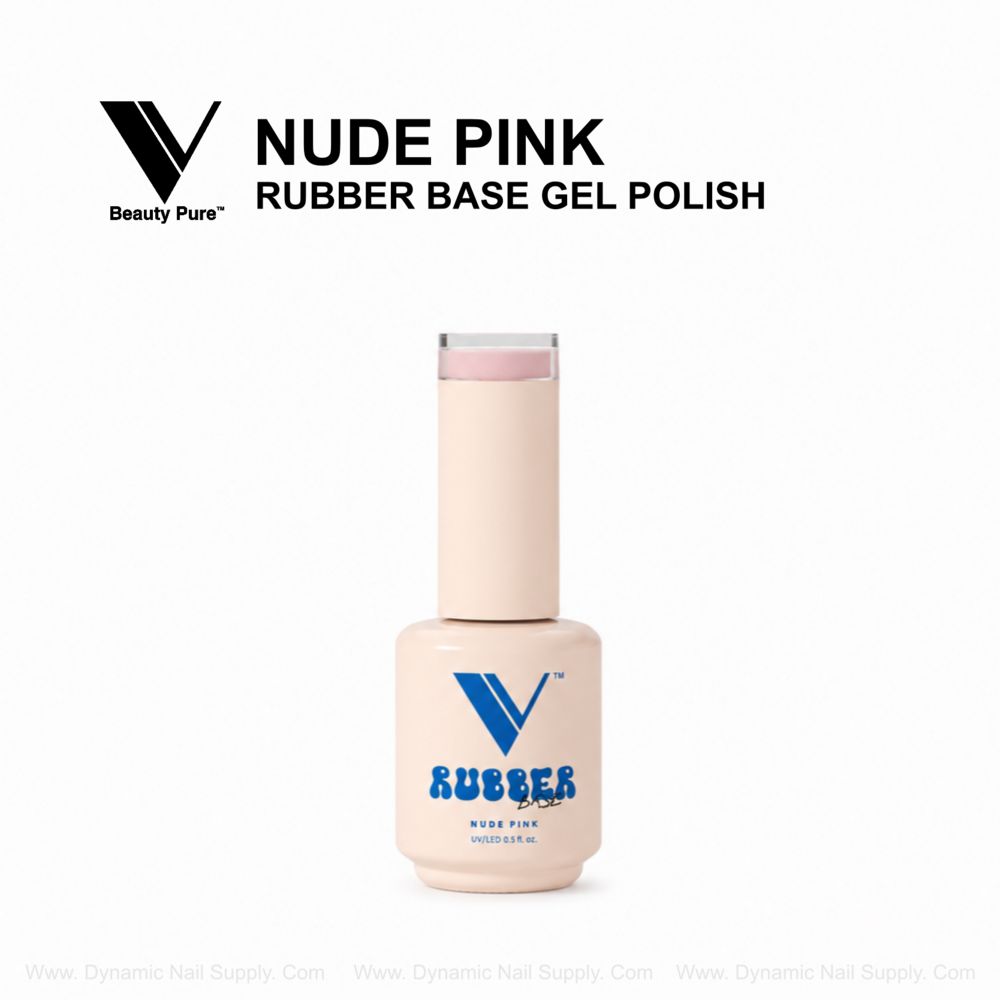
Now you begin the signature layered approach that makes the nude pink ombre technique succeed. Load a very small bead of Nude Pink – V Beauty Pure Rubber Base Gel Polish on the brush. Wipe excess on the bottle neck so the bead is controlled.
Start with a light veil over the middle of the nail, then drag very gently toward the free edge using soft feathering strokes. Cure 60 seconds. Each subsequent layer should move slightly more toward the tip, building translucency in three to four thin layers total. Keep layers thin: 1–2 thin coats are typical for foundation strength, but the ombré needs more micro-layers to avoid streaks and preserve the creamy gloss.
Use V Beauty Pure Nude Pink as your translucent reinforcement layer when you need a warm beige-to-blush ombré that still strengthens the natural nail.
Feathering Technique: Brushwork That Blends
Feathering is where you earn the seamless gradient. Use the tip of your brush like a soft comb: place the bead, press lightly, then pull-and-release in a single fluid motion. Don’t scrub back and forth. After each placement, tilt the nail slightly and use capillary action to coax the product toward the edge. Cure between passes to lock thin transitions.
Edge Control and Cleanup
After your final ombré layer, check the smile line and sidewalls. Use a pointed clean-up brush dipped in a tiny amount of cleanser to remove any halo or stray gel before final cure. Light filing can refine the tip if the build created excess bulk—remember the self-leveling formula minimizes filing needs, so only refine where necessary.
At this point you may want to evaluate adhesion and flexibility—this layered approach not only gives the look but builds flexible reinforcement without creating stiffness.
Gloss Finish: Keep It Creamy and Streak-Free
For that polished sheen, apply a thin, full-coverage high-gloss topcoat and cure as directed. If you prefer the absolute glass look, a final wipe with a non-acetone cleanser after cure removes any inhibition layer and boosts clarity. The layered translucent base beneath preserves depth and prevents the topcoat from looking like a flat sticker.
When you work this way you preserve that creamy high-gloss finish seen on short-to-medium nails in the product photo: blush nude tips with warm beige roots and glossy highlights.
For a quick reminder on product handling during layering, keep a fresh wipe and a capped bottle nearby to maintain a consistent bead size, and avoid contaminating the gel with brushes that have picked up too much product.
Also consider how you’d market the service: this routine reads bridal, minimalist, and office-friendly—three high-retention categories for regular clients.
Common Issues & Fixes
- Streaking: Usually from thick beads or scrubbing. Thin your bead and use a single pull stroke.
- Uneven gloss: Caused by missed spots before topcoat—do a slow inspection under a lamp before final cure.
- Edge lifting: Check your prep and keep product off the skin; thin layers cure more consistently at edges.
Best For / Not Ideal For
Best for
- Clients seeking a natural “your nails but better” finish
- Short-to-medium nail lengths
- Bridal and office-appropriate manicures
- Technicians who value controlled brushwork and layered builds
Not ideal for
- Clients who want opaque, high-contrast colors
- Extremely long nails where heavy structure is required
- Services needing rapid one-coat opacity without layering
Care & Safety Reminder
Handle cured and uncured gels with care: avoid skin contact during application, and cap containers tightly to prevent contamination. Use LED/UV lamps according to manufacturer timing and protect the client’s skin from prolonged exposure. Advise clients to use cuticle oil and avoid harsh solvents to preserve the glossy finish. Prices for supplies like the Nude Pink product may change, so confirm before ordering.
