
Myth busted: brides don’t always want high-shine bling—matte ombré with pearl accents can read luxe and romantic without being loud.
Prep: Start Clean
Imagine a bride who wants understated romance. You begin with properly prepped nail beds. File length to the client’s chosen shape, push and lightly trim cuticles, and buff just enough to remove shine where you plan to lay product. Cleanse with alcohol or swipe with a lint-free wipe and a nail cleanser so gels or acrylic bonds predictably.
Base: Build the Soft Baby-Pink Ombré
Set your color palette to a soft baby-pink matte finish on the lighter end and a slightly deeper blush toward the free edge—stick to the pale-pink family to maintain cohesion with the pearls. For an elegant bridal ombré you’ll work in thin, controlled layers.
Gel workflow: Apply a thin bond/base gel to each nail and cure to manufacturer specs. Use two soft-pink gel shades: apply the lighter shade over the entire nail, cure, then use a small sponge or a soft gel-brush to blend the deeper blush from the free edge up toward the middle. Feather in translucent gel to blur the join and cure. Repeat one more thin pass if needed for opacity. Finish with a matte top layer for that soft, non-reflective bridal look but hold off on curing the area where you’ll place beads if using a peelable gel layer for bead anchoring.
Acrylic workflow: Lay a well-leveled nude-pink acrylic or soft pink overlay as your base. For the ombré, pick two acrylic powders in the same family and apply the deeper powder closer to the free edge, tapering and blending with a slightly damp brush toward the cuticle zone. File and buff to your desired matte finish or apply a matte gel topcoat over a smooth acrylic surface.
Placement: Planning Pearl Focal Points
Now imagine the wedding photography: you want focal points that catch light subtly. Work from a placement diagram—three basic patterns that read clearly in close-ups:
- Cuticle Crescent: a crescent cluster hugging the cuticle center on the ring finger.
- Diagonal Cluster: a small diagonal scatter from lower sidewall to center on the middle finger.
- Single Halo: a single medium pearl surrounded by tiny iridescent beads at the tip of the thumb or pinky.
Sketch these lightly on a template card or your client chart so you and your client agree on placement before adhesive ever touches the nail.
Bead Selection: Why This Pink Palette Works
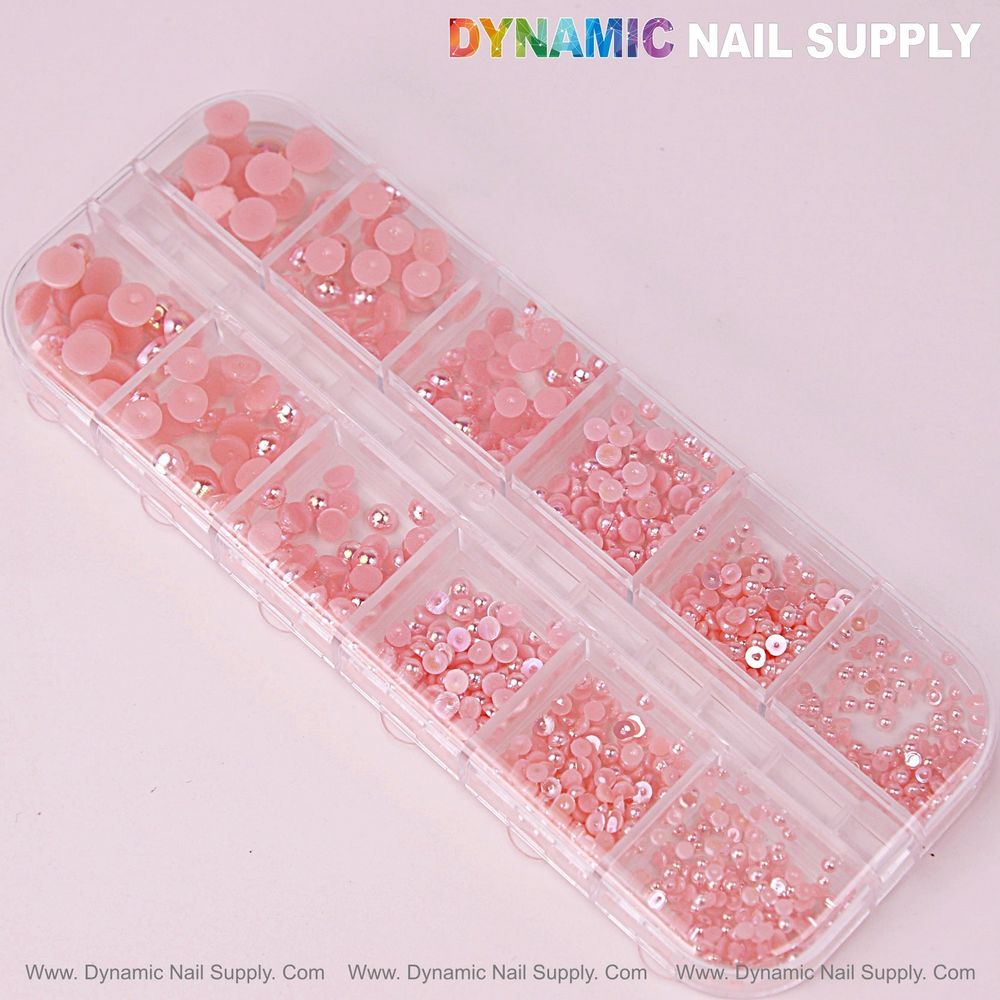
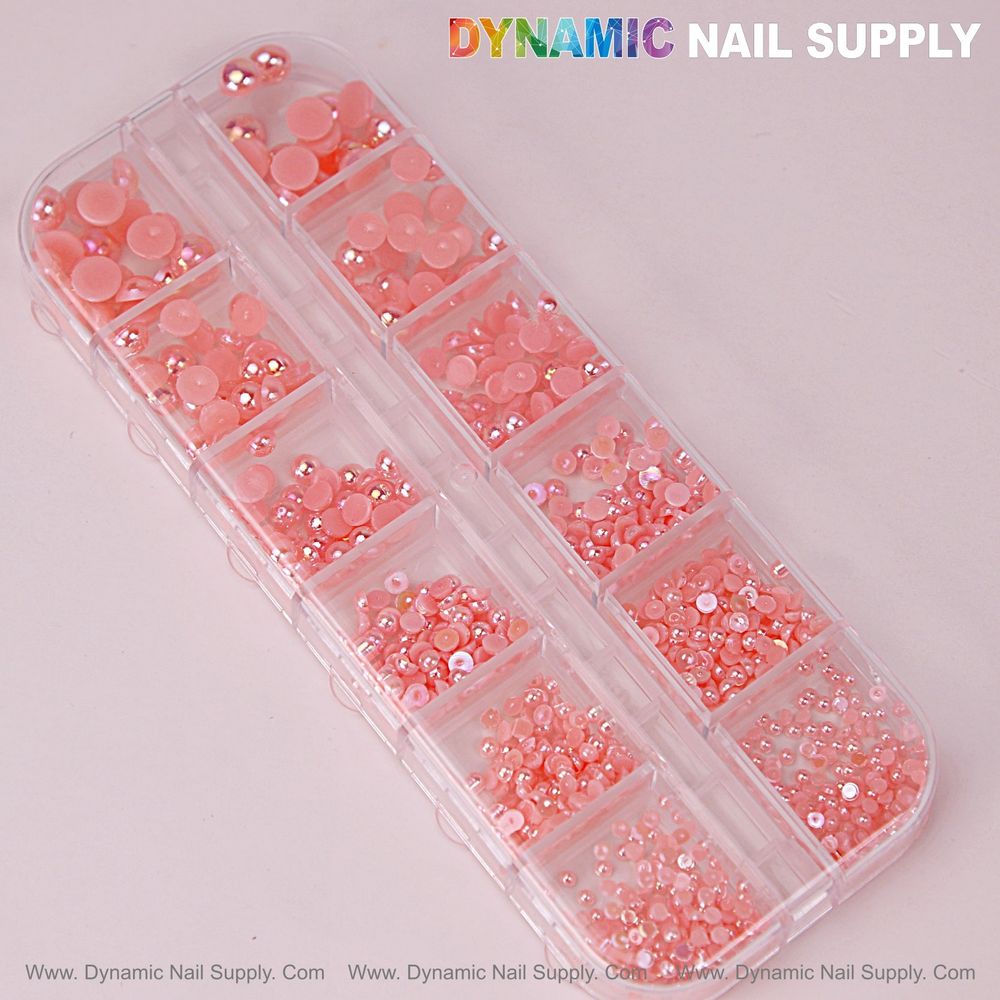
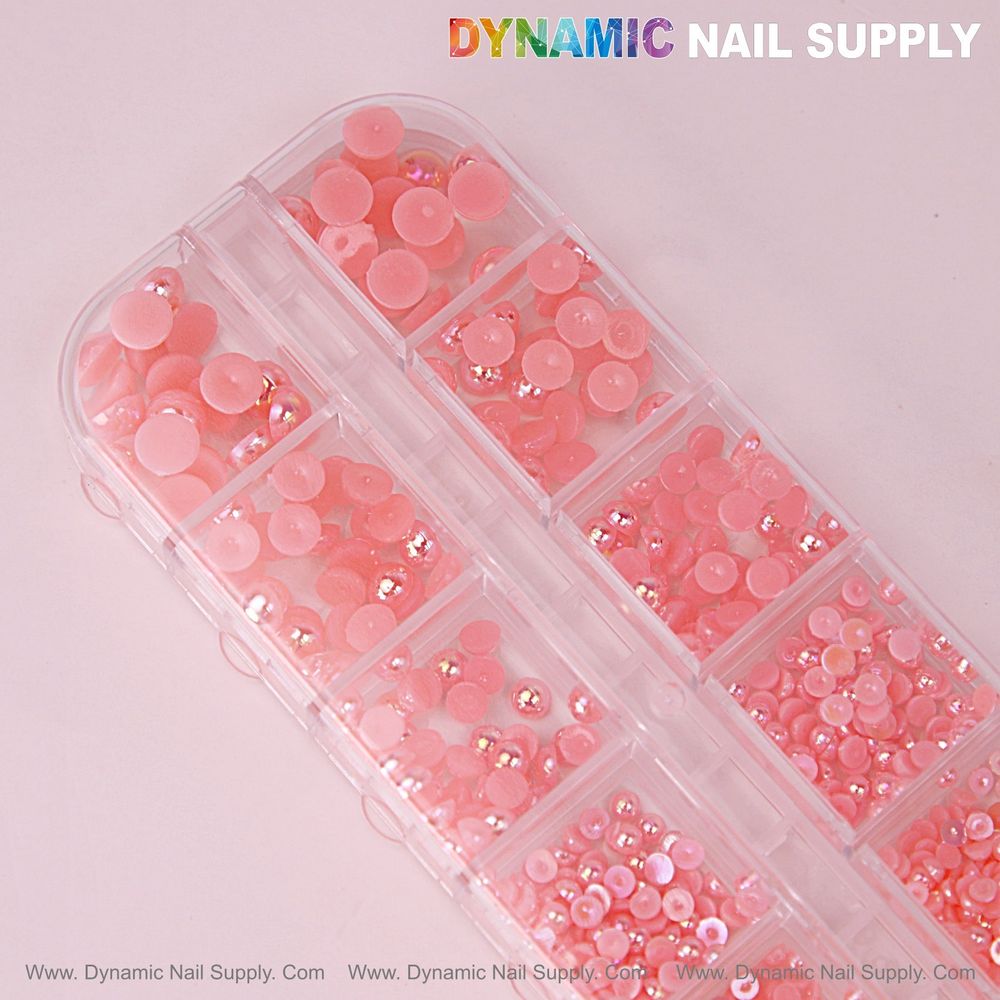
Work only with pieces that maintain a pale-pink family: combination flat matte discs and tiny glossy iridescent pearl-like beads with rose-gold reflective flashes. The matte discs read soft and modern; the iridescent beads provide discrete shimmer that photographs beautifully without overpowering the matte base.
Application: Glue, Gel, Or Embedded? — A Comparison
Decide which method suits the service time and client expectation.
- Glue setting: Precision, speed. Use thin-cure nail glue for flatback discs and small beads. Place one bead at a time with a wax pencil or curved tweezers. Good for quick touchups and for clients who may want removal at home.
- Gel embed: Maximum durability for a wedding week. Apply a thin layer of builder gel where beads will sit, place the beads, then encapsulate with another thin gel layer and cure. This keeps the look matte if you use a matte encapsulating gel or a satin finish topcoat.
- Acrylic embed: Press beads into wet acrylic for a permanent set; finish by leveling and matte buffing. Works well if the rest of the service is acrylic and you prefer not to switch systems.
Placement Diagrams: How To Cluster
For each focal area, follow a simple cluster rule: start with the largest pearl as the anchor, then stagger smaller glossy beads around it in a crescent or scattered halo. Keep some negative space—don’t fill the whole nail. On the ring finger, place a medium flatback disc at the cuticle apex, then add two tiny iridescent beads on one side and three micro beads on the opposite side to create an off-center crescent.
Finishing: Topcoat And Texture Decisions
For a matte ombré with pearl focal points, decide if you want the beads shiny or muted. If you want beads to catch light, use a glossy gel to encapsulate only the beads, leaving the surrounding nail matte. Technique: mask the matte area with a thin layer of masking product or cure the matte topcoat first, then dot tiny cured-gloss drops over beads and cure again to preserve contrast.
If you prefer everything subdued, encapsulate beads under a matte-finish layer so shine is diffused to a soft pearl glow. Always finish edges with a cured seal to lock beads in and avoid snagging on fabric or veils.
Best for:
- Bridal clients seeking romantic, low-gloss elegance
- Photoshoots where delicate highlights are desired
- Clients who prefer a unified pale-pink palette with subtle shimmer
Not ideal for:
- Clients who want full-on rhinestone sparkle or high-shine chrome
- Very active brides who need zero raised texture (consider flush embed)
- Services needing same-day quick removal without professional help
Service Notes: Timing, Cost, And Care
Estimate time: prep and ombré base (30–45 minutes), bead planning and placement (15–25 minutes), encapsulation/finishing (15–25 minutes). If you charge per bead or cluster, document exact placement diagrams for consistency. The 12-grid set of pale pink mixed flatbacks and pearls is a compact option to test palettes and clients—price and availability may change, and you can name the set for easy cataloging at the bench.
Safety & Aftercare
Handle tiny beads with care—store in a compartmentalized container and warn clients about sharp edges on trims. Use proper ventilation for glue and liquid products, and advise clients to avoid picking at beads; recommend salon removal if beads are embedded under acrylic or gel to protect the natural nail.
Final note: for a wedding client who wants polished restraint, a matte soft baby-pink ombré punctuated by clustered iridescent pink pearls with rose-gold flashes delivers romantic detail without shouting. If you plan to use the beads from your kit for a trial or service, mark placement in your chart and consider a small touch-up appointment post-honeymoon.
If you’ll trial the look on a model or client, keep a dedicated container of the pink pearl beads nail charms with your placement templates and notes: pink pearl beads nail charms.
