
Mythbust: Fancy Charms Slow You Down
Contrary to the rumor mill, ornate metal charms rimmed with faceted rhinestones don’t have to add ten or twenty minutes to a service. With a repeatable stage-and-place method you can keep luxe detail and salon speed both intact.
Scenario: Quick Luxe Set For An Evening Client
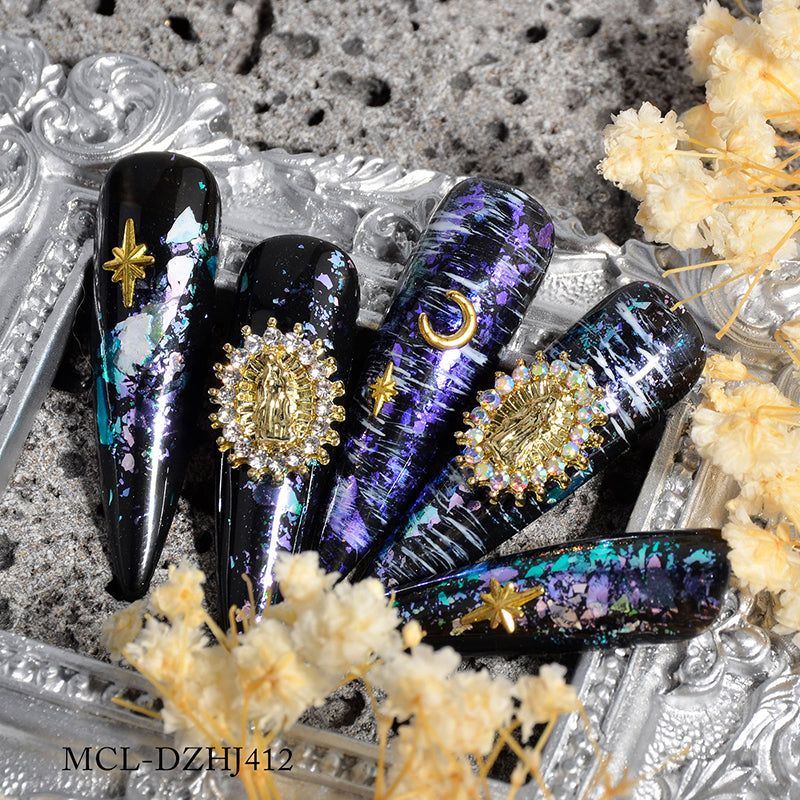
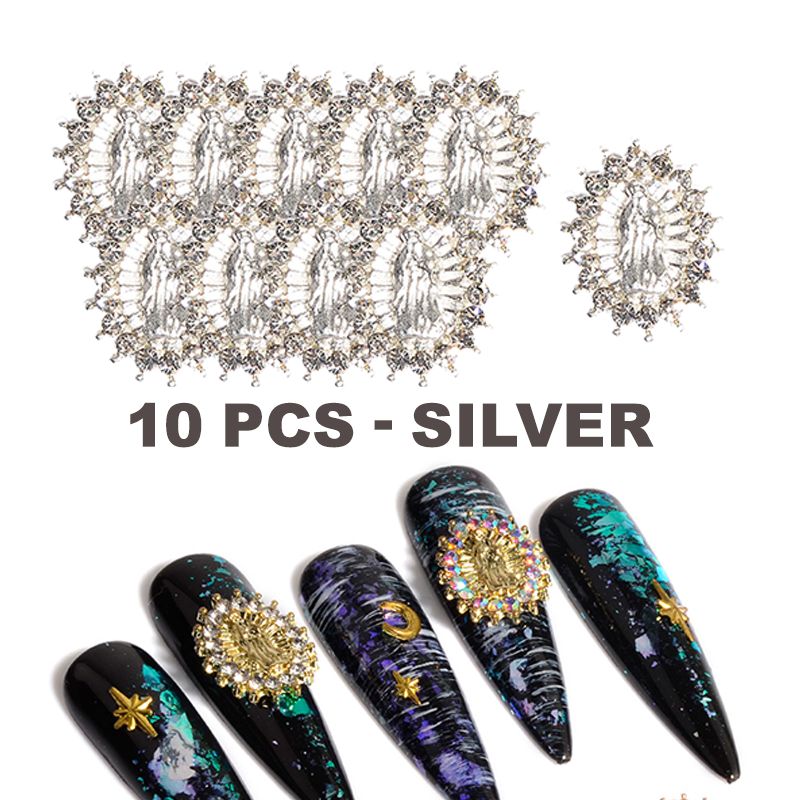
Imagine a client books a 60-minute gel fill with an accent finger on each hand: glossy, moody black marbling with teal and violet flake and a single Virgin Mary charm on each ring finger. You’re using the small-size, 10-piece “with stones” Virgin Mary charm set that pairs gold- and silver-plated ovals rimmed with clear faceted rhinestones on long, glossy tips.
Prep: Station And Nail Ready
Set up like a pit crew. You want everything reachable and ordered left-to-right if you’re right-handed, right-to-left if left-handed.
- Clean and prep the natural nail, apply extensions and shape the long, stiletto form.
- Prime and base, then cure as usual so the top surface is perfectly tack-free when you begin decorations.
- Lay down your glossy black base and build the teal/purple marbling plus iridescent flakes. Cure each layer so placement happens on a stable surface.
Layout: Tray And Sequence
Before you pick up a charm, create a micro-stage tray that mirrors your fingers. Use a small silicone bead tray or a magnetic palette with shallow wells. Place one charm per well in the order you’ll apply them (index to pinky or pinky to index). Keep gold and silver separated into two labeled rows if you’re alternating finishes.
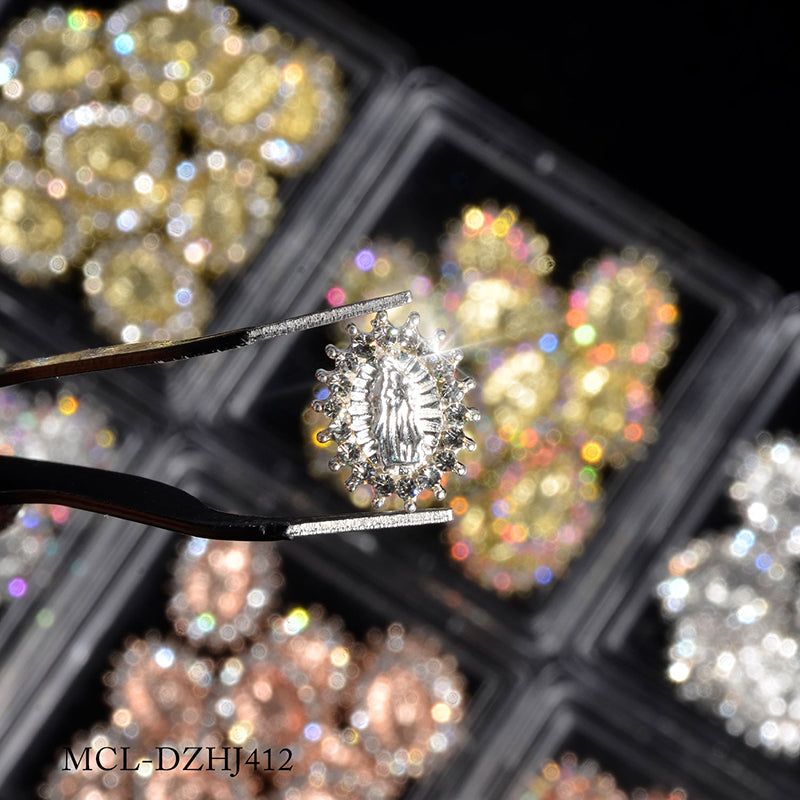
This is where the product’s design helps: the set contains small oval Virgin Mary charms with faceted rhinestone rings in both metallic gold and metallic silver finishes, so layout is immediate and visual.
Adhesive & Tooling: Fewer Hands, Fewer Errors
Choose a medium-viscosity nail glue or a gel adhesive that gives a second or two of tack to allow tiny adjustments. Use a pointed pick-up tool with a tiny amount of sticky wax on the tip for one-handed lifts. A curved tweezer is useful only for repositioning; the pick-up tool is faster for straight-to-nail placement.
Placement: One-Handed, Three-Second Moves
Work in a strict rhythm: pick, place, press, cure. Practice the motion so each charm requires no more than three seconds to seat.
- Dip the pick-up tip into a small dot of adhesive in a separate well; you only need a micro-dot on the back of the charm.
- Pick the charm from your pre-ordered tray and bring it straight down to the nail — no hovering. Rest the charm on the nail edge, and roll it gently into position so the rhinestone ring sits flush with the high-gloss surface.
- Press for one second with the pick-up or your fingertip (use a sanitized fingertip or an orange stick wrapped in lint-free tape), then cure if you’re using gel adhesive or hold still for the glue flash-set time.
A two-person set? Not required. With a practiced flow you can place both hands’ accents faster than alternating back-and-forth between clients.
For reference when planning styling choices, consider how this product shows on glossy dark nails: metallic gold and silver charms rimmed with clear rhinestones pop against teal and violet marbling and iridescent flakes, creating a luxe, dramatic accent.
Pro tip: keep a spare charm or two in a small adhesive-well in case one slips during placement. If you want a compact product option on-hand for quick services, Small Virgin Mary charm set offers the exact small, stone-rimmed set used in this workflow.
Cure & Seal: Fast Protection
If you used gel adhesive, light-cure per the product’s instructions right after seating. For super-secure longevity without adding time, encapsulate with a thin layer of builder gel across the nail bed, feathering under the charm edge and curing. Finish with a high-gloss topcoat, being sure to brush around the rhinestone ring to keep crystals clear and shiny.
Finish: Speed Without Sloppiness
Once cured, wipe tack-free layer (if needed) and check alignment quickly. If a charm needs a millimeter shift, lift with the pick-up tool immediately before full curing or, if cured, reapply a micro-dot of adhesive and press into the new spot.
Best for
- Salon technicians handling express luxe services who need one-or-two accent nails per hand.
- Clients who want gothic glam or dark holiday looks with ornate focal points.
- Setups that alternate metallic finishes for contrast on marbled or black glossy bases.
Not ideal for
- Full-coverage charm applications on every nail (this small 10-piece set is designed for accents).
- Extremely short natural nails where the charm overhangs the free edge.
- Services that must be rinsed or soaked soon after application (avoid immediate water exposure until adhesive is fully cured).
Care & Safety: Last Step
Handle metal charms with care—edges and rhinestones can snag if not fully sealed. Advise clients to avoid prolonged soaking for the first 24 hours and to be cautious with rough activities that catch the charm. Keep your workspace tidy and dispose of adhesive caps safely. This small, stone-rimmed 10-piece set is priced at $6 at the time of writing; prices may change.
With a disciplined tray layout, a single pick-and-place tool, and a one-handed rhythm, you can reliably apply ornate Virgin Mary charms in seconds per nail without sacrificing finish quality. Practice the sequence and you’ll see how the rapid charm placement technique becomes muscle memory—speedy, precise, and salon-friendly.
