
Myth busted: almond tips always feel bulky. In fact, thin, well-selected extensions can feel lightweight and natural—if you match shape, size and technique.
Prep: Start Clean
Imagine a client who wants medium-length almond extensions with maximum clarity for encapsulation. You greet them, confirm their preferred length and confirm they want a smooth, glassy finish. Then you begin the fundamentals: a proper prep makes the rest predictable. Remove old product and oils, lightly buff the natural nail plate to a dull sheen, and wipe with an appropriate cleanser. Keep your files, buffers and brushes within reach so you move efficiently through each hand.
Fit: Size for Comfort
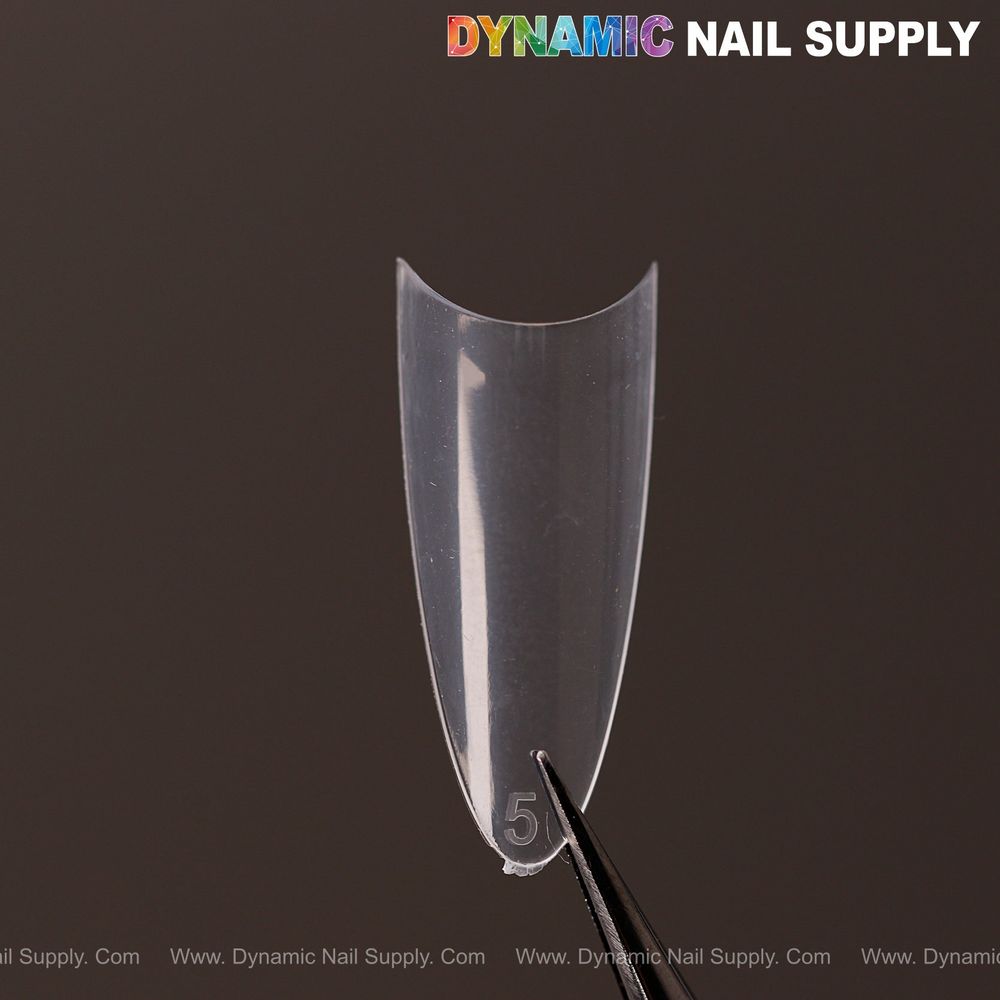
Open the organized box of clear tips—the divided plastic storage tray shows the transparent, ultra-thin almond shapes sorted into numbered compartments beneath a pale lavender label band with a multicolor logo. You’ll appreciate having 12 sizes to trial-fit. One by one, hold each tip against the free edge to find the best width and sidewall alignment. The goal is full sidewall coverage without impinging the cuticle or pinching the skin. Because these are medium-length, you’ll be choosing sizes that balance length with a natural-looking transition.
Glue & Apply: Bond with Care
With sizes selected, lightly file the underside of each tip where it will contact the nail to create a small raw surface for adhesive. Apply a thin bead of tip glue—start near the cuticle edge of the natural nail, place the tip on, press and hold at a slight lift angle to avoid trapped air. Check alignment quickly before the glue sets. Because these tips are ultra-thin and transparent, you’ll notice they sit closer to the nail and require very little product to blend, which speeds workflow.
At this point, a quick note about the product itself: for a detailed look at the organized 600-piece box and visual sizing, consider this option:
Shape: Smooth the Seam
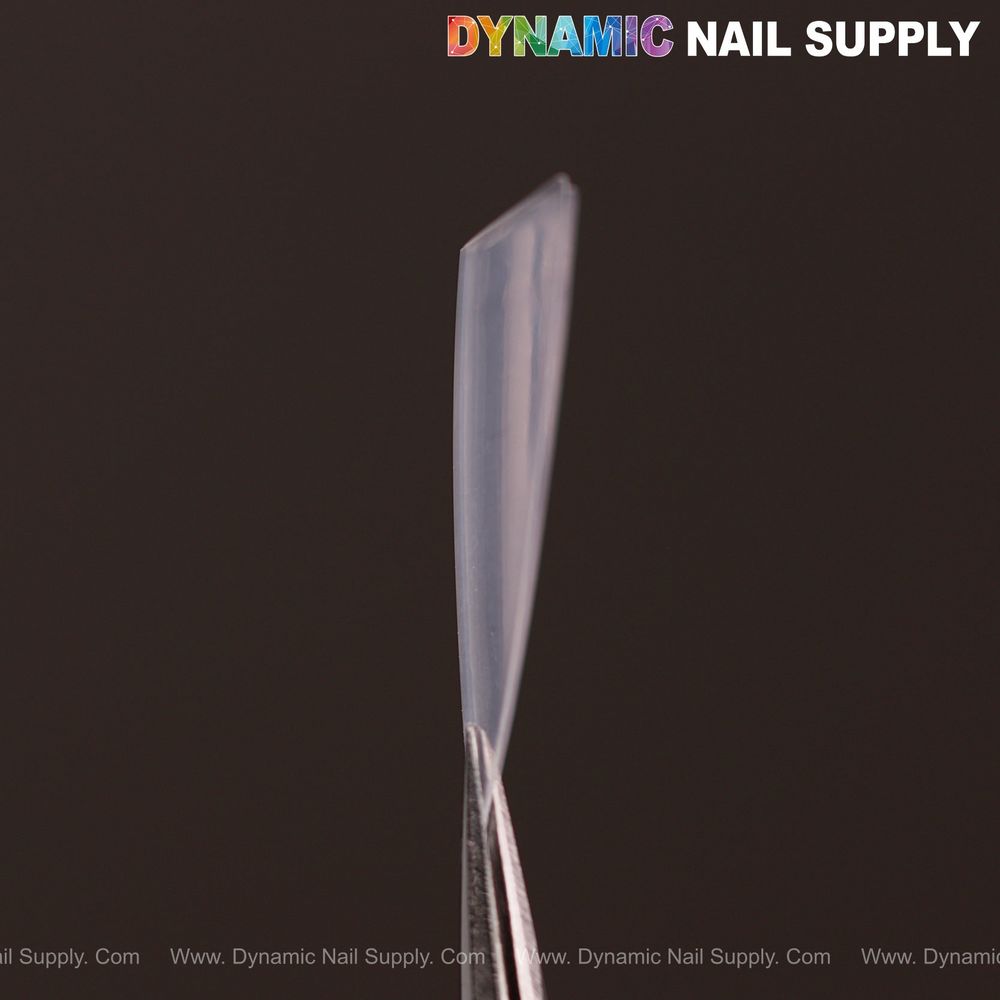
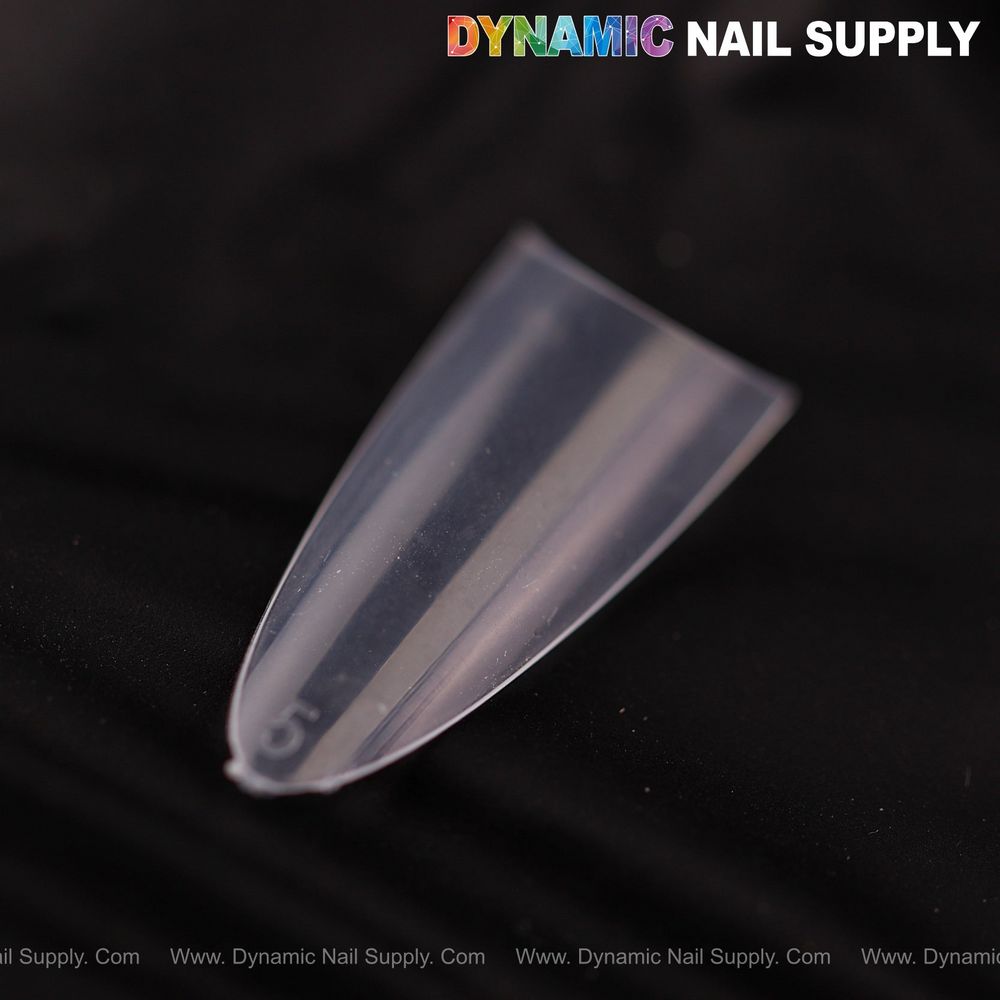
Once tips are firmly bonded, move on to blending. Because these are straight, medium almond shapes with a high-sheen finish, you have two choices: leave the external silhouette perfectly intact for a clean, manufactured look, or blend the seam gently with a coarse file to create a near-invisible transition. If you choose to blend, use light, even strokes and finish with a softer buffer to remove file lines. The transparency of the tips means blending mistakes are visible—take your time.
Overlay: Build Without Weight
Next, apply your overlay product. The ultra-thin profile of these tips reduces the amount of acrylic or builder gel needed to achieve strength, so you can keep the apex subtle for a natural flex. For encapsulation, the clear material is ideal: place glitter, dried flowers or micro-embellishments under a thin layer of product, then cap and smooth. If you’re planning an ombré or color-block gel, the transparent base allows crisp transitions and true color payoff without clouding.
Finish: File, Buff, Polish
After curing or setting your overlay product according to its instructions, refine the final shape. Use a fine-grit file for edge cleanup and a buffing block for surface sheen. Because the tips themselves are glossy, a light finishing pass brings everything together quickly. Apply top coat and cure if required; the final look should be glassy and clean, showing off the clear almond shape beneath.
Aftercare: Keep Them Lasting
Explain to your client how to care for their new extensions: avoid prolonged soaking when possible in the first 24 hours, use cuticle oil daily to maintain flexibility at the natural nail junction, and recommend gentle filing rather than picking at raised areas. These tips come in a 600-piece kit, which is economical for regular clients and seasonal changes in size requests; price shown at press time was $11.99 but may change.
Best for
- Clear, encapsulated art and glitter work
- Clients who want a medium almond silhouette with minimal overlay product
- Salon pros who value an organized, numbered tip tray
Not ideal for
- Technicians seeking a pronounced C-curve—these are a straight-profile tip
- Clients desiring extremely long extension lengths beyond medium
- Workflows that require opaque pre-colored tips (these are clear)
Cleanup & Storage
Return unused sizes to their numbered compartments in the clear tray so you stay organized. The plastic lid keeps tips visible and dust-free between services. If a tip is cracked or warped, discard it—do not force a damaged piece into service. Keeping spare boxes on hand speeds chair time and reduces interruptions.
Safety: Handling Notes
These are thin plastic tips—avoid contact with open flames and keep away from small children. Use proper ventilation when applying adhesives or overlay products. Dispose of single-use items responsibly and maintain salon hygiene by sanitizing work surfaces between clients.
With deliberate sizing, a steady hand at bonding, and a light overlay, you’ll give clients a lightweight, salon-ready almond extension that showcases clear encapsulation and glossy finish. We kept the workflow efficient so you can repeat it for multiple clients in a shift while maintaining consistent results.
