
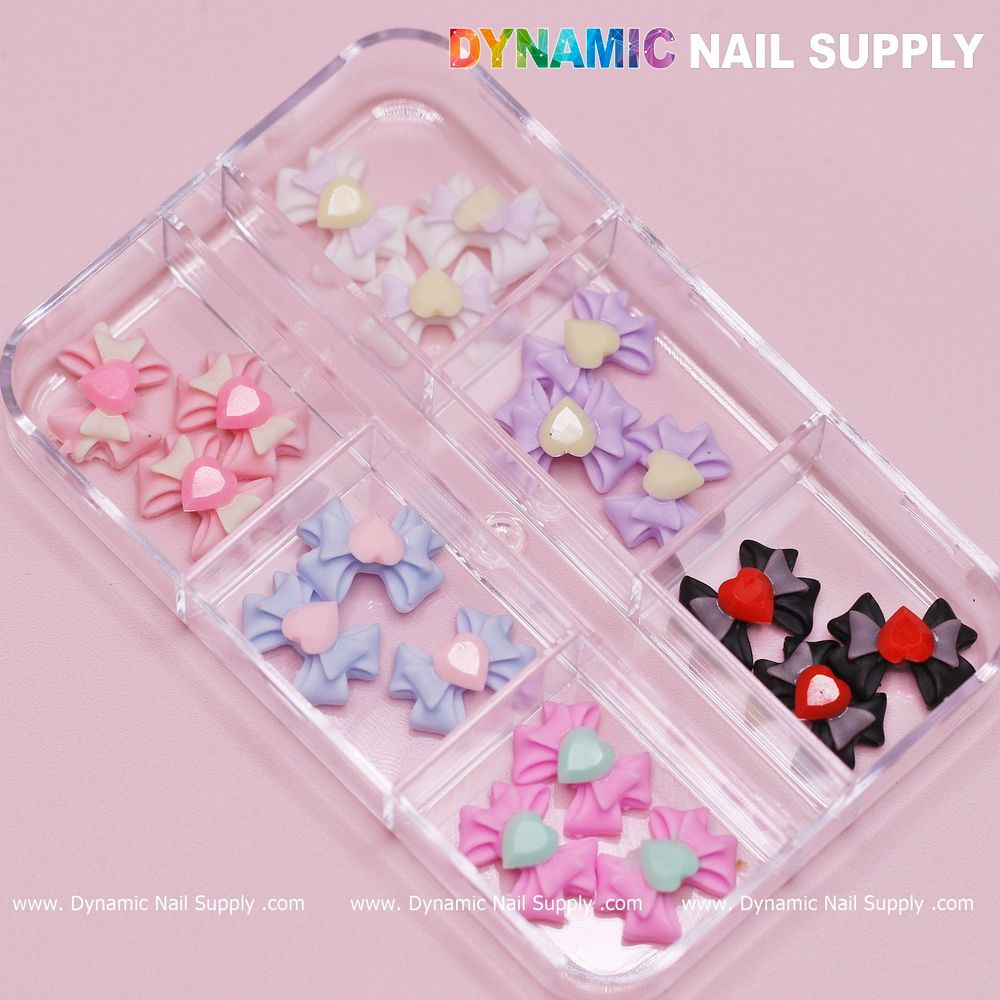
Myth busting first: 3D bow charms don’t have to read loud or juvenile. The right palette and placement make them a chic focal point—especially this 18 3D multi colors Colorful Heart Rhinestones Spring Collection Art set.
Prep: Start Clean
You’ll want a perfectly prepped canvas. File and shape the nails to your chosen silhouette. Push and trim cuticles, then lightly buff the nail plate where the ombré will sit so polish and gel have consistent adhesion. If you’re doing natural nails, dehydrate with a lint-free wipe and gentle alcohol. For enhancements, cure and tack-free your builder layer as usual before color.
Base Color: Paint the Ombre
Imagine the color flow: soft baby pink at the cuticle melting into pale lavender at the tip. Use two complementary polishes or gels in those tones. If you’re gel-savvy, paint thin base coats and cure. Then use a sponge or a damp brush technique to blend a quick pink→lavender transition on the nail surface. Keep each layer thin so the matte bows won’t sit on a bumpy base. Cure fully between layers if using gel.
Accent Planning: Choose the Ring Finger
When you place a single 3D bow on the ring finger, scale and spacing matter. Pick the compartment from the divided tray with a pastel bow that best matches your ombré—baby pink, pale lavender, powder blue or mint green will read harmonious. The set also includes cream/off-white and buttery yellow options if you want a lighter contrast, and a bold red or matte black row if you want an edgier focal point.
Adhesive: Pick the Right Glue
For long wear on natural nails, a resin-based nail glue gives a secure bond. For gel or builder enhancements, use a small dab of builder gel or a no-wipe gel adhesive and cure under LED for a flush finish. Place the adhesive only where the bow will sit—this prevents overflow and keeps the glossy heart center crisp. Use a tiny dot so the matte bow’s underside contacts the nail fully.
Placement: Precise Bow Setting
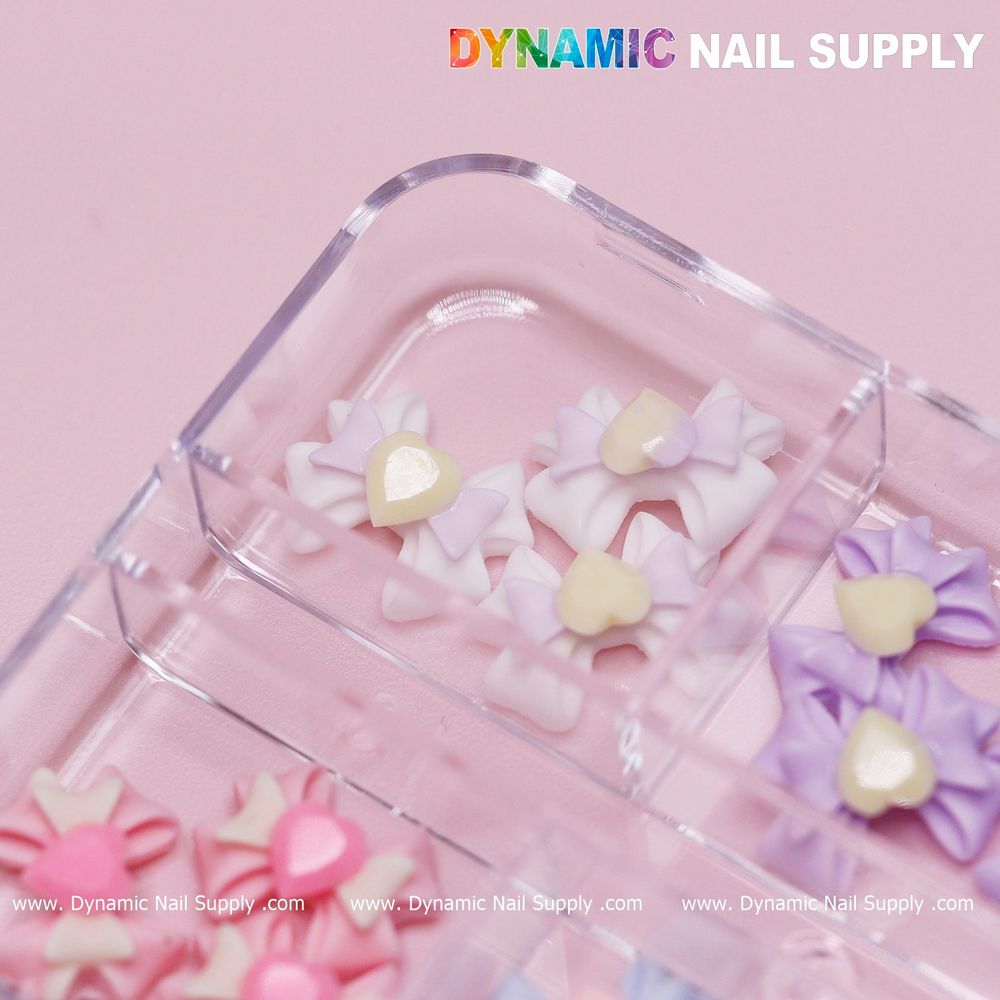
Work with tweezers or a specialized charm picker. Hold the matte bow so the tiny glossy, pearlized heart faces upward and centered over the ombré gradient at the base of the ring finger or slightly off-center toward the cuticle—either placement works, but central gives a classic accent. Press gently for a few seconds to seat the charm into the adhesive. If using builder gel, press, then cure to lock the charm in place.
Topcoat: Protect Without Dulling
Topcoating around a 3D piece needs care. Use a thin layer of topcoat over the nail surface but avoid brushing directly over the bow’s matte polymer body if you want that texture to remain. Instead, apply a micro bead of topcoat near the bow’s edges and drag it outward to seal the join. For the glossy heart center, a single light pass will enhance its shine—don’t overdo it. If you prefer complete encapsulation, choose a thick builder gel cap and carefully encapsulate only the surrounding nail bed, leaving the bow’s silhouette raised.
Finishing Touches: Balance and Styling
The charm set’s overall mood is playful and spring-like. Use a matching pastel micro-dot, tiny glitter pinstripe, or a soft french smile line to tie the ring accent to the other fingers. If you want contrast, pair matte black nails with the set’s red-heart bows for a bold statement on one finger while keeping the rest soft ombré.
Best For:
- Nail artists creating a single focal accent for spring clients
- Kawaii-inspired or pastel-themed manicures
- Soft ombré sets where a small raised charm is desired
Not Ideal For:
- Clients who need completely flat, snag-free finishes (3D pieces will catch)
- Extremely short nails with no surface area for secure placement
- Heavy-duty wearers who require industrial-strength, permanent bonds without periodic upkeep
Workflow Tips for Efficiency
Keep bows organized in their divided tray so you can pull matching colors quickly during a service. Work on one hand at a time: finish the ombré and seal, then set the charm to reduce handling time. A toothpick or orange wood stick dipped in a tiny amount of adhesive gives you better placement control than larger glue applicators.
Care and Safety Reminder
Advise clients that 3D charms are decorative and require a bit more care—avoid sharp objects and prolonged soaking. When removing, do not pry the charm off; soak or file down the surrounding product and lift gently. If you want to view or order this exact 18-piece 3D multi colors set for your station (prices may change and the current price listed was $5.99): 18-piece 3D bow charm set
Handle adhesives and gel products in a ventilated area and follow manufacturer instructions for safe use. Small parts are a choking hazard—keep out of reach of children.
